
There are lots of gadgets to search out in Final Fantasy 7 Rebirth. Some could be misplaced at sea, although there is a approach so that you can nonetheless purchase them. This is our information on the best way to get the Pirate King’s Treasure in Final Fantasy 7 Rebirth. Likewise, please be reminded that this information comprises minor spoilers.
How you can get the Pirate King’s Treasure in Final Fantasy 7 Rebirth
The Pirate King’s Treasure discovery turns into accessible initially of Chapter 12: A Golden Key. That is when the Tiny Bronco crash lands, turning into a naval vessel as an alternative.
You can begin the exercise at Costa del Sol. Merely head to the pier the place the Tiny Bronco is docked and open the chest that has ethereal purple crossed swords. A treasure map will seem to point out you the areas of 4 Pirate’s Grottoes. You possibly can go to these in any order, although we have numbered them primarily based on how shut they’re to Costa del Sol:

How you can navigate the Meridian Ocean whereas on the lookout for Pirate’s Relics
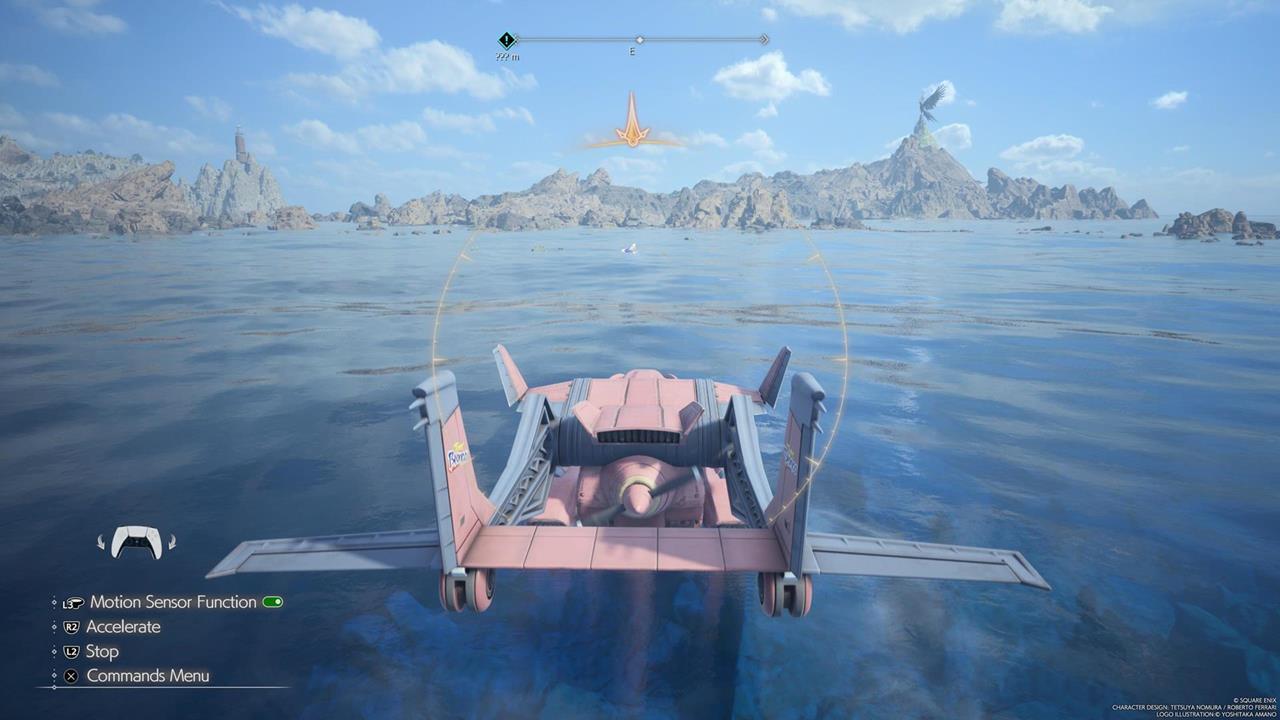
The seek for the Pirate King’s Treasure in Final Fantasy 7 Rebirth will take you to small areas with Pirate’s Grottoes. To get there, you need to “sail” utilizing the Tiny Bronco:
- Press left on the D-pad to point out the treasure map.
- Maintain the L1 button to enlarge it, making the “X” marks extra seen.
- You may also press proper on the D-pad to cover the treasure map if you do not need it to litter your display.
- Every Pirate Grotto has a particular monster that it’s essential to defeat. As soon as you’ve got vanquished your foe, open the treasure chest to acquire a Pirate’s Relic.
Pirate’s Grotto #1: Hueyacoatl
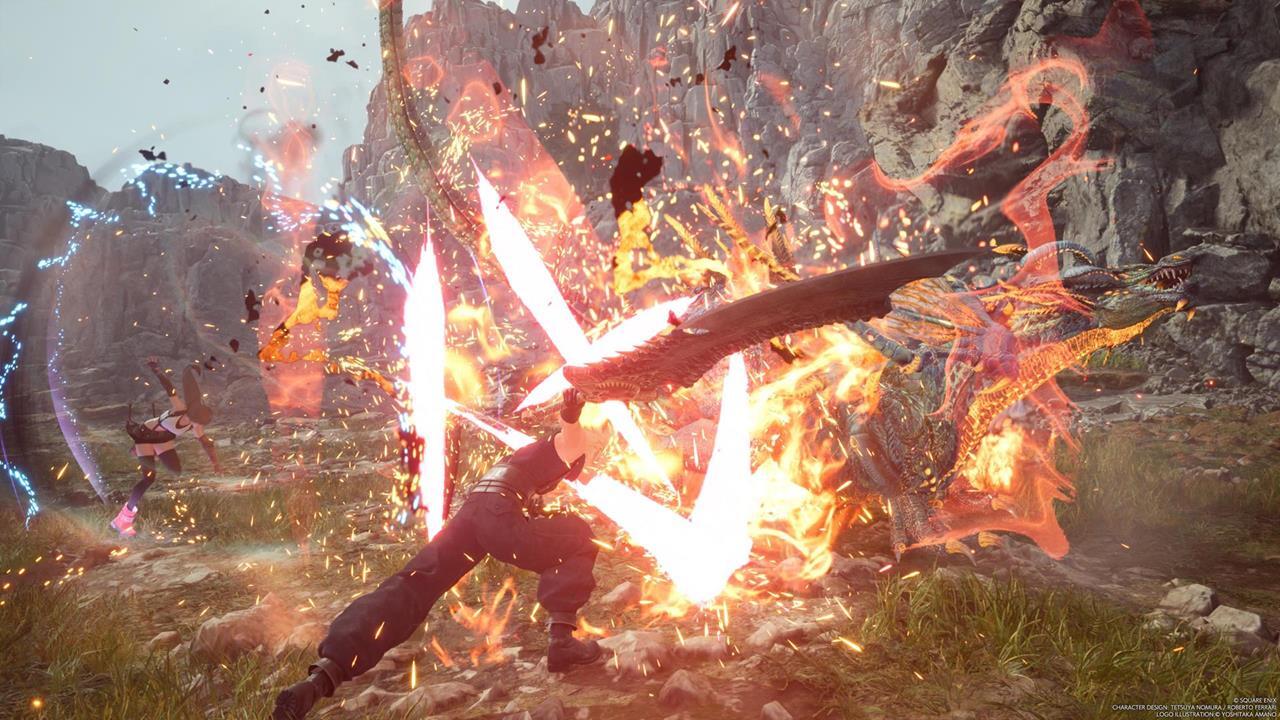
From Costa del Sol, head northeast till you see a slim inlet between the continent and a small island. The monster right here, the Hueyacoatl, is weak towards wind ingredient assaults and spells. Likewise, it has a Supercharged state the place it continually bombards the realm with lightning strikes, although hitting it at this state may even stress it.

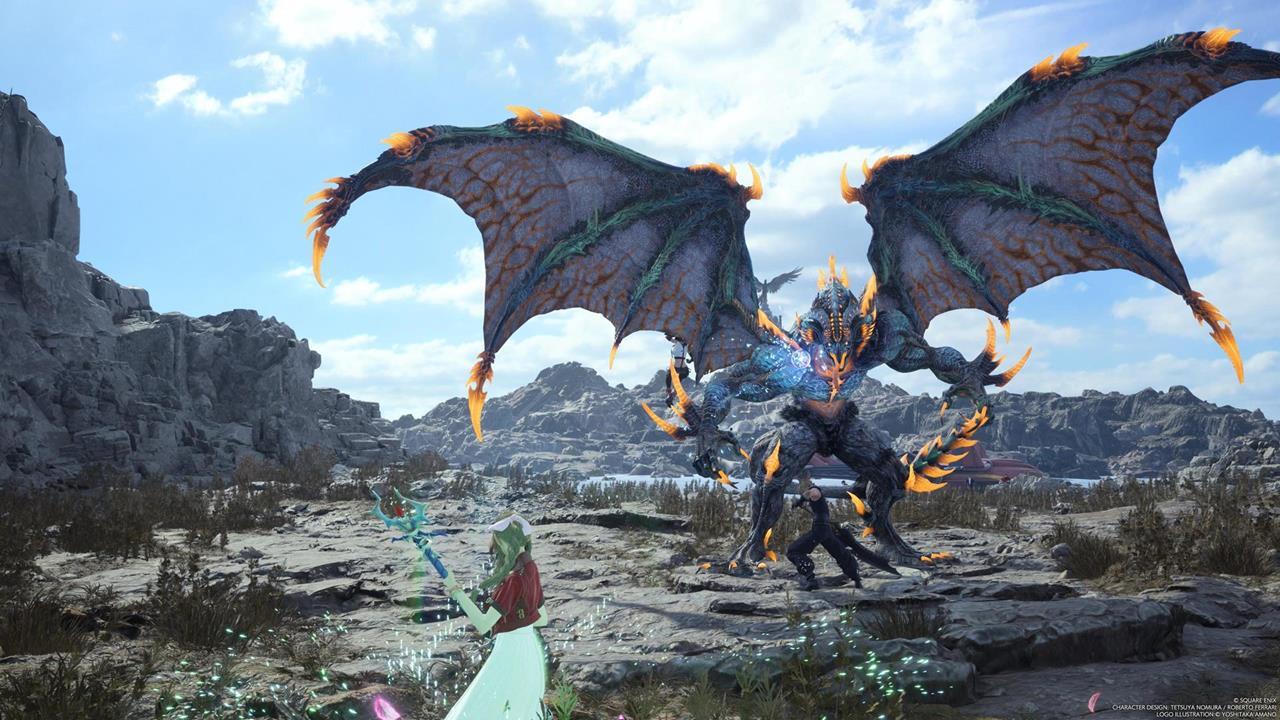
Pirate’s Grotto #2: Sea Dragon
You possibly can attain the Pirate’s Grotto with the Sea Dragon by persevering with northeast previous the place you fought the Hueyacoatl. There’s one other island the place the Tiny Bronco ought to have the ability to dock. As for the Sea Dragon itself, you need to be aware of the next mechanics:
- Casting Bio will poison and stress this enemy.
- You possibly can then forged lightning spells to proceed filling the stagger meter.
- If it makes use of Galvanizing Flames, it’ll counter all assaults you do. As such, it is higher to simply concentrate on actions that may stagger it to make it helpless.
Pirate’s Grotto #3: Ogre Raider
To achieve this Pirate’s Grotto, use the Gongaga Port quick journey level and comply with the coast to the east. Alternatively, you may simply sail southwest from Costa del Sol.
This monster is weak towards the ice ingredient, making it very straightforward to stagger. It does roar every now and then to strengthen its personal assaults.
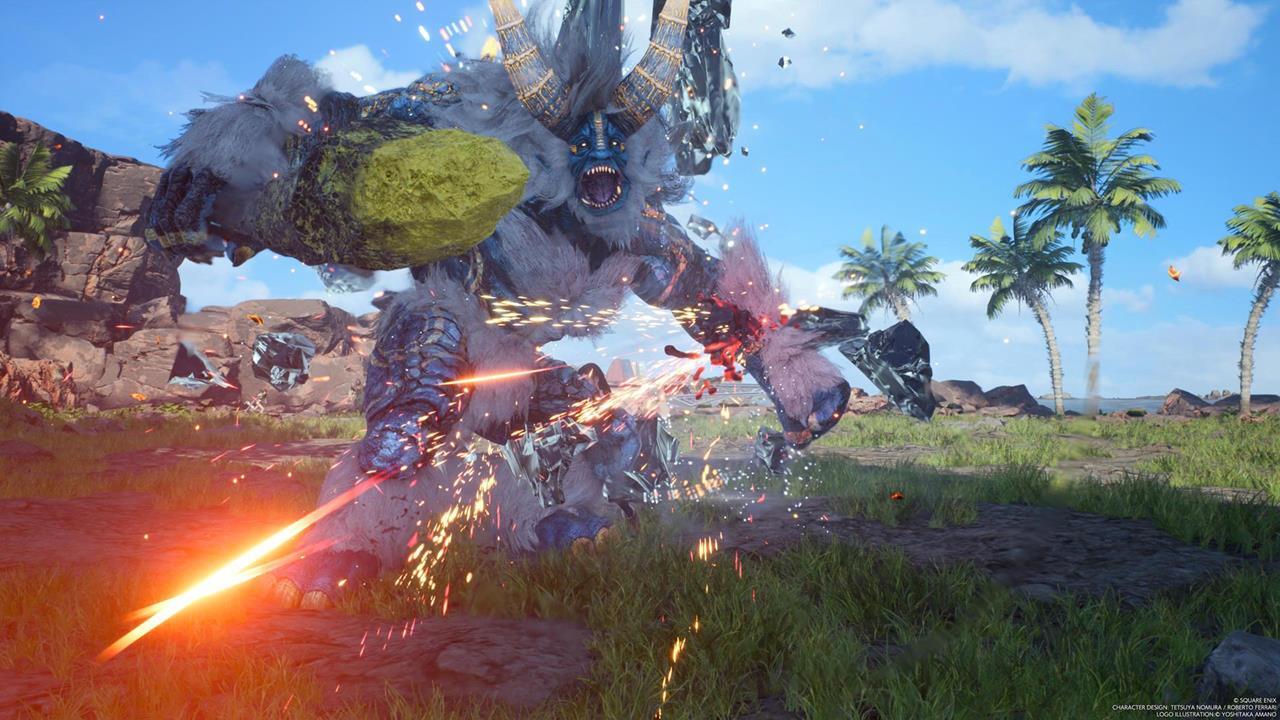
Pirate’s Grotto #4: Brineborn Demon
The Brineborn Demon is situated south of Crow’s Nest within the Junon area. To get there, you need to use the Beneath Junon Port quick journey level, then proceed crusing south.
As for the monster itself, it’ll activate its Counterstance, which is adopted by a devastating Graviga spell afterward. The purpose is to make use of hearth ingredient assaults and spells to stress and stagger it, which may even stop it from utilizing Graviga.
What to do with the Pirate’s Relics
You’ve got nearly obtained the Pirate King’s Treasure in Final Fantasy 7 Rebirth. All that is left now could be to craft the Corsair’s Compass. To do that, merely open the Merchandise Transmuter menu and go to the Equipment tab. You must see the Corsair’s Compass blueprint, which will be crafted by utilizing all 4 Pirate’s Relics that you have discovered.

How you can use the Corsair’s Compass
Now that you’ve the Corsair’s Compass, it is time to put it to good use. Everytime you’re exploring the Meridian Ocean on the Tiny Bronco, you’ll periodically see a golden reticle with an arrow. Observe the course the place this arrow is pointing, because it results in purple containers. These are inclined to have Pirate’s Jetsam, in addition to different uncommon supplies.
That is it: that is the way you full the Pirate King’s Treasure in Final Fantasy 7 Rebirth. When you’re eager on extra late-sport discoveries and unlocks, you may check out our Gilgamesh summon information.
A grand journey awaits you in Final Fantasy 7 Rebirth. We have got all the information and methods for you in our FF7 Rebirth guides hub.