
The Whisper is again in Destiny 2, providing the Whisper of the Worm unique sniper rifle as a reward. Not solely you may achieve the unique itself as a reward, but additionally its sample so you possibly can craft your individual model.
As a part of the Whispers of the Previous questline, you may must reunite with Eris Morn on the Moon to get began. In the event you’re questioning how one can get the Whisper of the Worm unique in Destiny 2 as promptly as potential, the step-by-step listing under ought to assist.
How to Begin Whispers of the Previous in Destiny 2
The Whispers of the Previous quest in Destiny 2 will not be out there from the get-go. You first want to finish the introductory mission with Shaxx, which should not take too lengthy.

As soon as that is settled, you may obtain the Whispers of the Previous goal, which duties you with chatting with Eris Morn on the Moon. It is a fast chat–afterward, the exercise will grow to be out there from the Into the Mild menu within the Locations tab.
You will want a minimal energy degree of 1810 to deal with the traditional model of the unique quest. As per typical, there is not any matchmaking, however you need to use the finder to search for a celebration, which is kind of useful. As soon as the whole lot is about, we’re off to deal with The Whisper.
How to Full The Whisper in Destiny 2
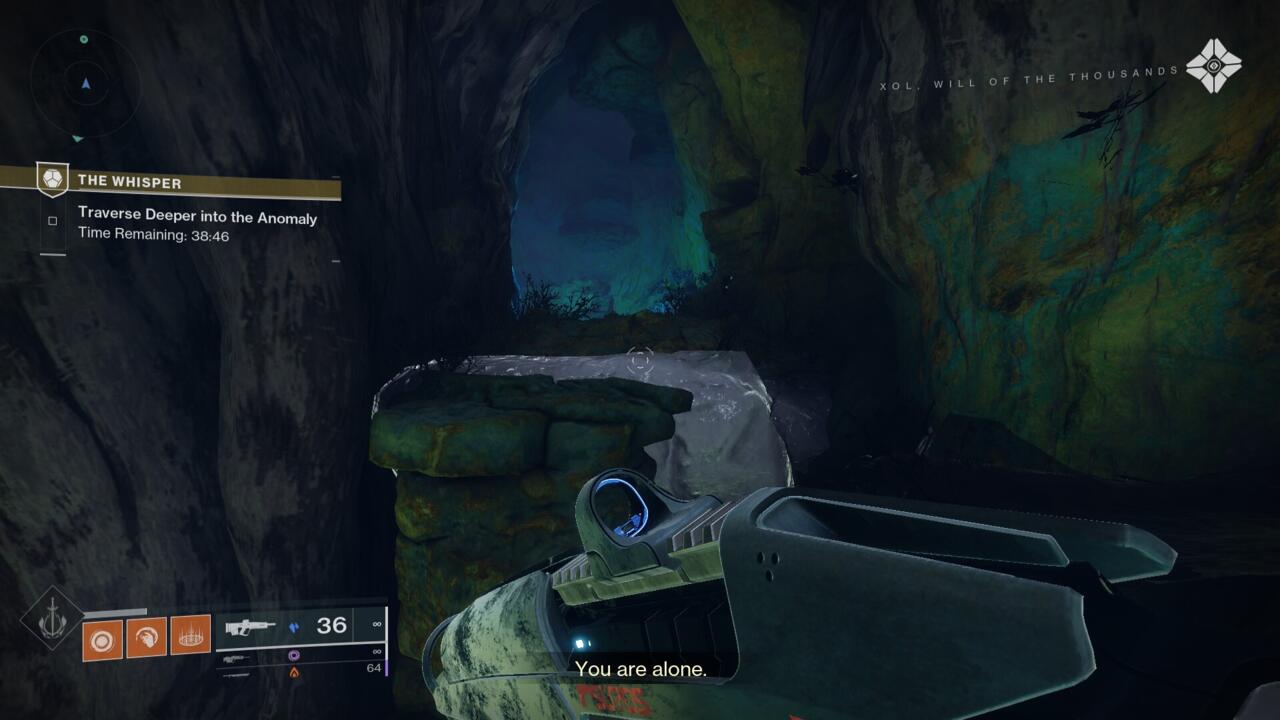
The Whisper begins with the duty of investigating the Taken anomaly. You will first come throughout an empty backyard of types with just a few branching paths. In the event you take note of the upward part of it, you may discover a single Taken that can probably assault you from its place. Not so coincidentally, that is the place it’s essential to go.
After defeating the enemy, preserve transferring ahead till you discover a gap within the floor. Make your finest Alice in Wonderland impression and descend via it–I like to recommend doing a small leap earlier than hitting the decrease flooring to keep away from taking harm.
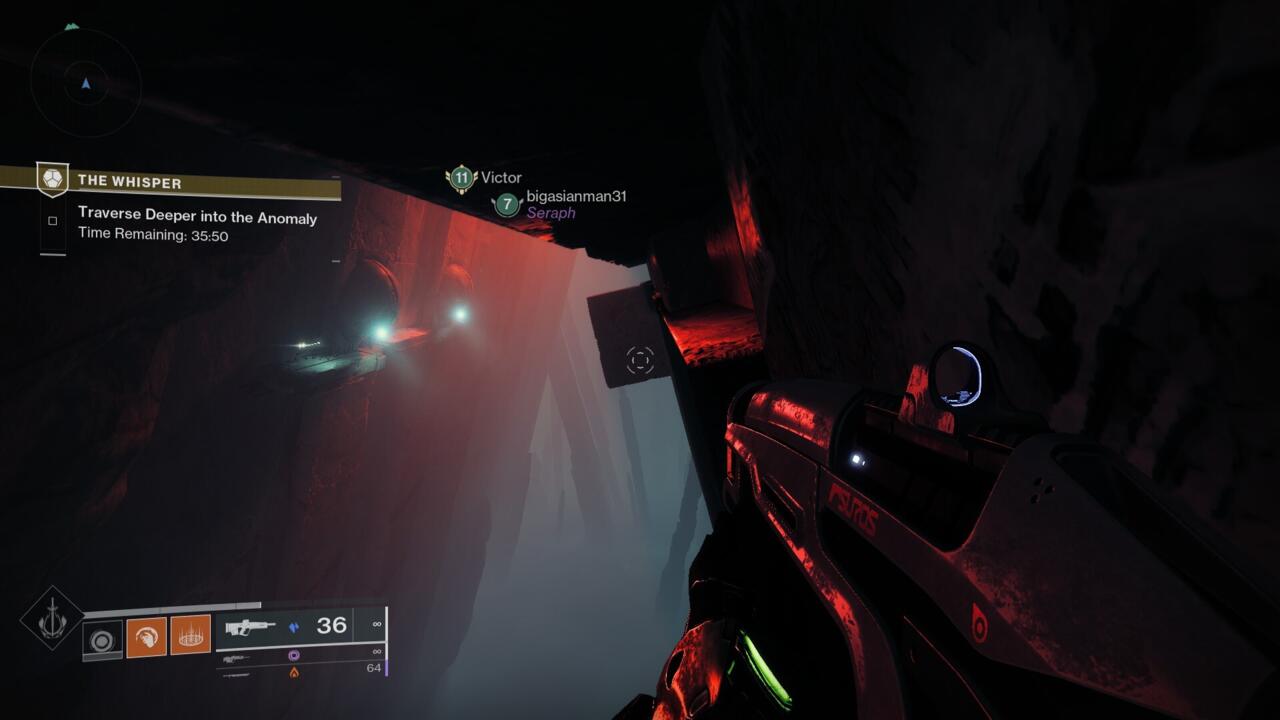
As you traverse deeper into the anomaly, you may come throughout a big room with not-so-clear paths to traverse via. The key indicators are the crimson lights, in addition to any transferring platforms you see at a distance. Don’t be concerned, there are many them.
First off, descend to the trail on the best and crouch to maneuver to the opposite aspect, which takes you to the open space. Then, make a leap for it and descend to the trail with the transferring platforms, making an attempt to keep away from getting hit by them.
From right here it is fairly simple, you need to use the bridge-type constructions to get to the monolith on the left aspect. As soon as there, circle round it, once more towards the left aspect, till you discover a lengthy, slender path with transferring platforms. Transfer on a straight line till you get blocked by a platform, after which repeat the method just a few occasions. That is to make sure that you aren’t getting trapped in the midst of two transferring pillars, as you are sure to be hit by the one behind you. If something, you possibly can retry this just a few occasions, so do not sweat.
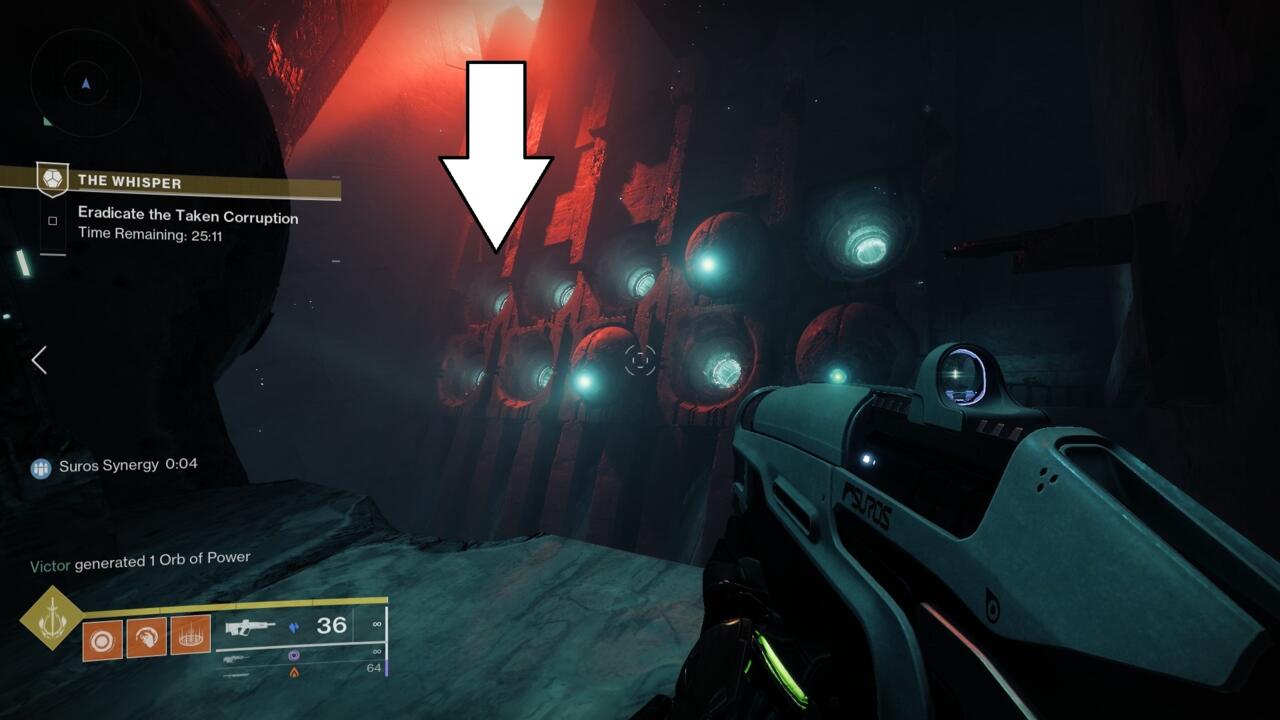
As you are approaching the opposite finish, you may discover a floating dice. Shoot it to spawn a platform so you possibly can safely glide to the wall on the left, which has the 2 orb-looking constructions. Preserve transferring ahead till you get near a cliff. In the event you look above, you may see an elevator of types. Hop on it after which double leap to the opposite aspect. Watch out right here since there is a wall that comes out of the wall each few seconds, which might block the leap for those who rush into it.
When you’re on the bottom once more, preserve transferring ahead till you are capable of flip left. Enter via that hall and comply with the trail, which has, but once more, extra transferring platforms. This can lead you to a different open room, which has platforms it’s essential to get to. Be cautious of the Taken traps subsequent to them, as they’re going to push you off.
After this part, leap all the best way to the opposite aspect of the hole and get via the door as soon as it is opened. Right here, you may come throughout a room with totally different paths to take.
The one you want is on the best aspect. To get to it, glide over to the primary orb you see, which is dormant, and leap on it. Comply with the trail all the best way to the opposite finish, double leap, and enter the open orb on the row above. After an extended hall, get into the gaps within the floor, the place there are constructions with moss on them, and comply with the trail towards the following enemy room.
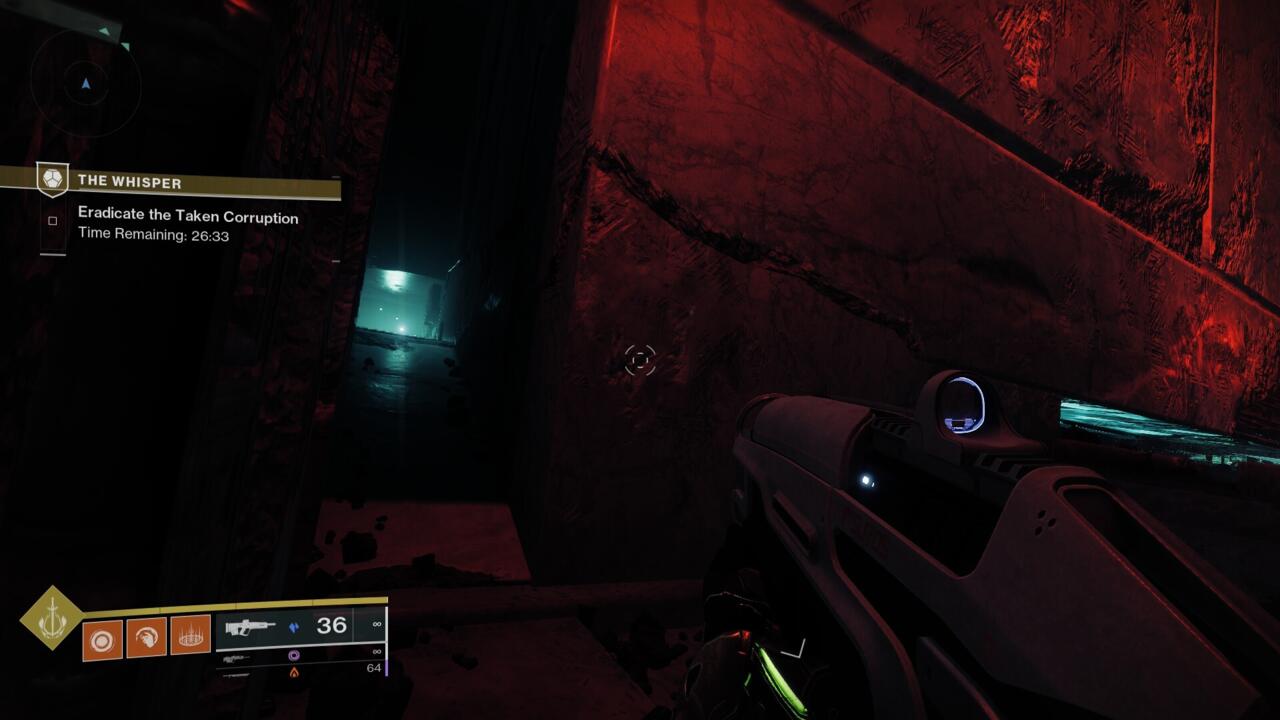
Right here, you may must defeat just a few Taken enemies to eradicate the Taken corruption. Issues are fairly simple right here proper till you get to the boss room, the place you may must defeat three minibosses first.
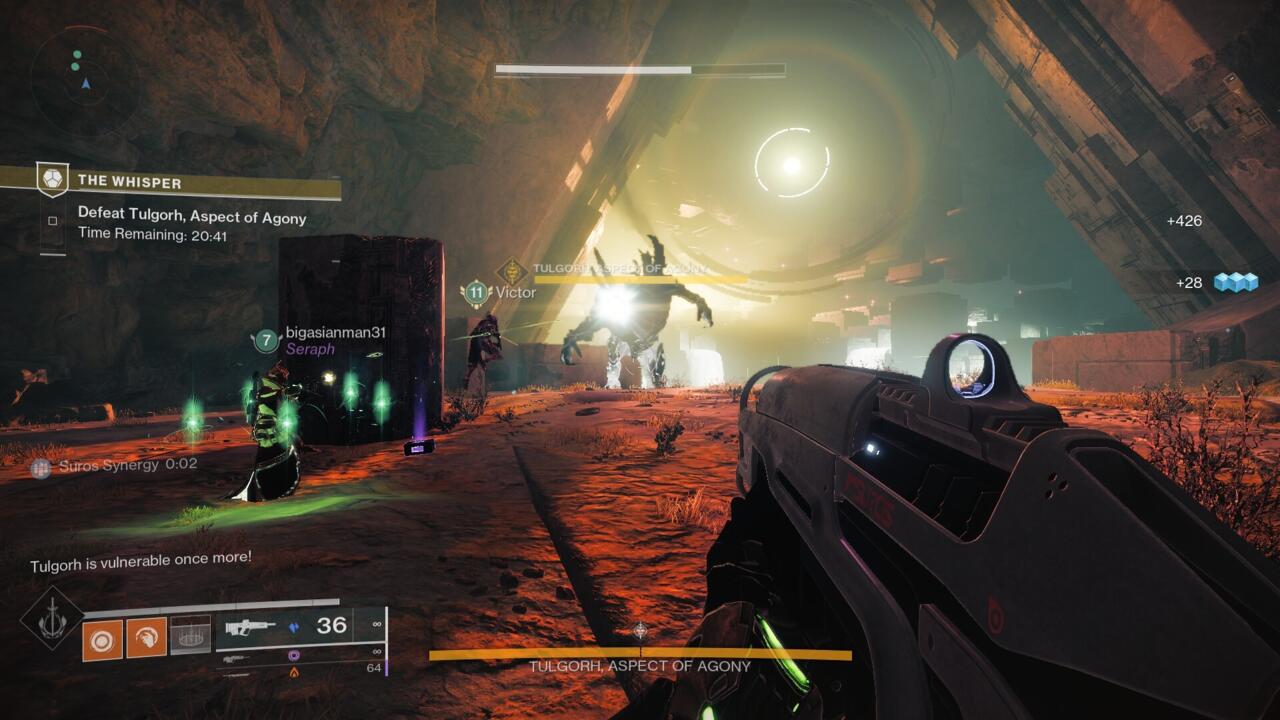
You’ll be able to destroy every dice at a time, or all three of them without delay (doing the latter grants you a Triumph). As soon as they’re all down, Tulgorh, Side of Agony, will seem as the ultimate showdown.
There aren’t many surprises left right here. In the course of the combat, Tulgorh will achieve a protect, for which you may must take down just a few particular enemies on both sides of the room. That is just about it.
How to Get the Whisper of the Worm Exotic in Destiny 2
After defeating Tulgorh, Side of Agony, on the finish of The Whisper in Destiny 2, method the chest to say the Whisper of the Worm Schematic as a mission reward.
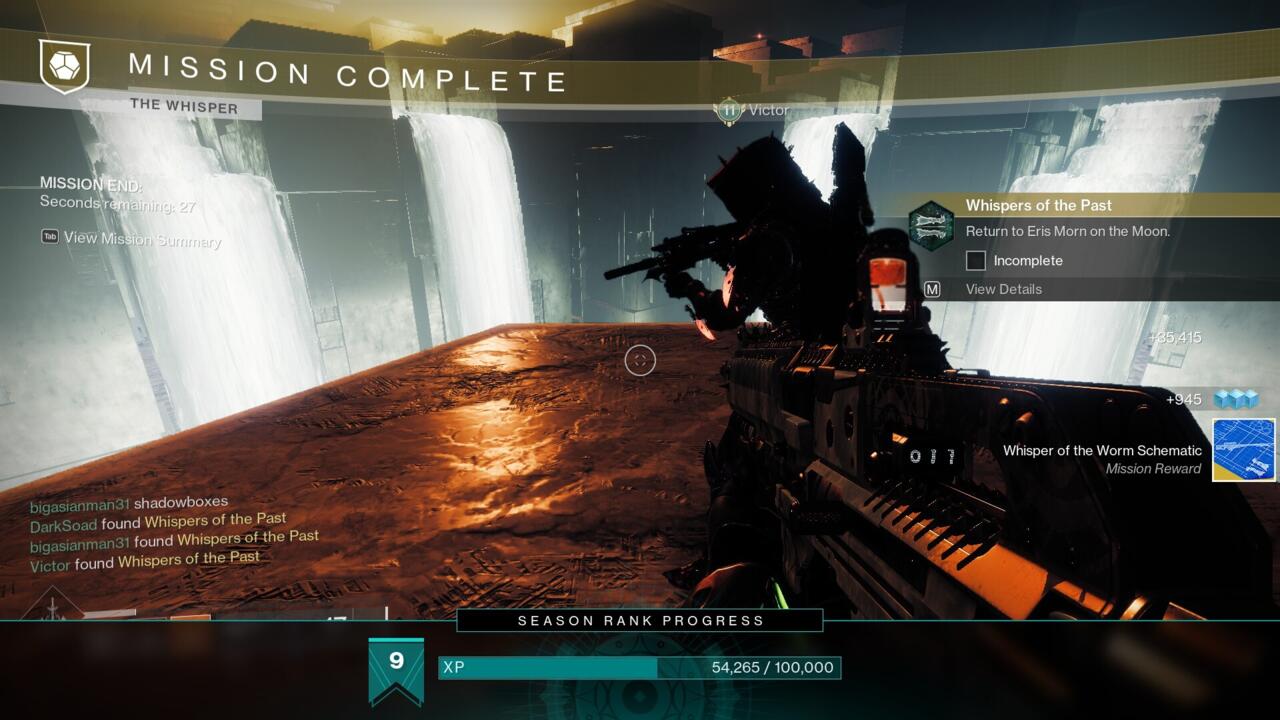
From right here, return to Eris Morn over on the Moon as soon as extra. After a quick chat, go forward and declare the Whisper of the Worm weapon. By default, after finishing The Whisper in regular problem, the weapon got here with 1810 energy degree. Additionally, the sample was already prepared for extraction. In the event you’re curious, the perk is White Nail, which provides larger base precision harm. Quickly touchdown three precision hits will refill the journal, too.
Because you’re more likely to return to The Whisper, there’s an incentive to go off the crushed path and deal with it in Legend problem as effectively. You will achieve entry to Whispers of the Taken I, which has just a few new steps, similar to gathering Taken Essences. Be sure to equip the Whisper of the Worm weapon, because it’ll come in useful in subsequent visits.